Installing a Gravel Patio: A Step-By-Step Guide
- Mark Cisek
- Dec 25, 2024
- 3 min read

Updated: May 19
Skill Level: Beginner
Overview:
Gravel patios are a budget-friendly, low-maintenance option that can add charm and functionality to your outdoor space. This DIY project can be completed without professional experience and can be customized to fit your style. Here’s a detailed step-by-step guide to help you create your gravel patio.

Materials:
Installing Your Gravel Patio:
Before installing a gravel patio, it's crucial to ensure your yard is suitable for the project. If your backyard is surrounded by trees and tends to accumulate a lot of debris, a gravel patio might not be the best option. In my case, I have no trees on my property, which means minimal cleanup is required. Additionally, having turf installed around most of the patio helps prevent grass from mixing with the gravel. Let's get started.
Step 1: Planning and Excavating

Select the location where you'd like to install your gravel patio and mark it clearly using spray paint or a string line. If precise measurements are important, use a tape measure to outline the area accurately.
Once the area is marked off, dig down about 4 to 6 inches, removing both the grass and soil. Be sure to dig below the roots of any grass or vegetation to minimize the risk of future weed or grass growth.
Step 2: Level and Tamp
When installing a gravel patio near a house or structure, it's essential to include a slight slope for proper drainage away from the structure. A good rule of thumb is a 1/4 inch drop per foot to direct water away from the structure. Use a level to ensure the ground slopes correctly, and tamp it down firmly as you work to maintain stability.

Step 3: Add Base and Border
Once the area is properly sloped, it’s time to add your base material. There are several options to choose from, with some people opting for just landscape fabric. Personally, I prefer to start with about a 1-inch layer of pea pebbles tamped down followed by a layer of landscape fabric secured with landscape staples. This method provides an extra layer of separation between the soil below and the white marble chips I plan to use. To provide an extra layer of protection against weed growth, consider adding another layer of non-woven fabric beneath your base material, although it's not required.
For the border, there are a variety of materials to consider. For this project, I chose to install a brick paver border that is secured in place by a concrete edge , but other options like pressure-treated wood or plastic edging can work as well.


Step 4: Add Gravel
Once the base is finished, add your top layer of gravel. For this project, I used 3/8-inch white marble chips that were purchased at a local landscape supply yard. They can also be purchased by the bag at Home Depot or Lowes, but this tends to be much more expensive. Spread approximately 3 to 4 inches of gravel evenly within the bordered area, using a landscape rake to ensure a smooth and uniform surface.
Keep in mind that white gravel can be more challenging to keep clean, so consider this when making your material choice.
Step 5: Finishing Touches
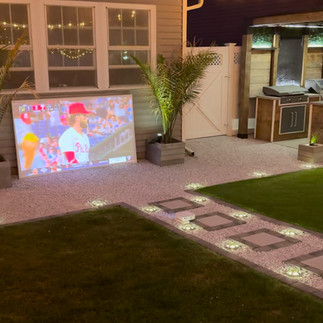
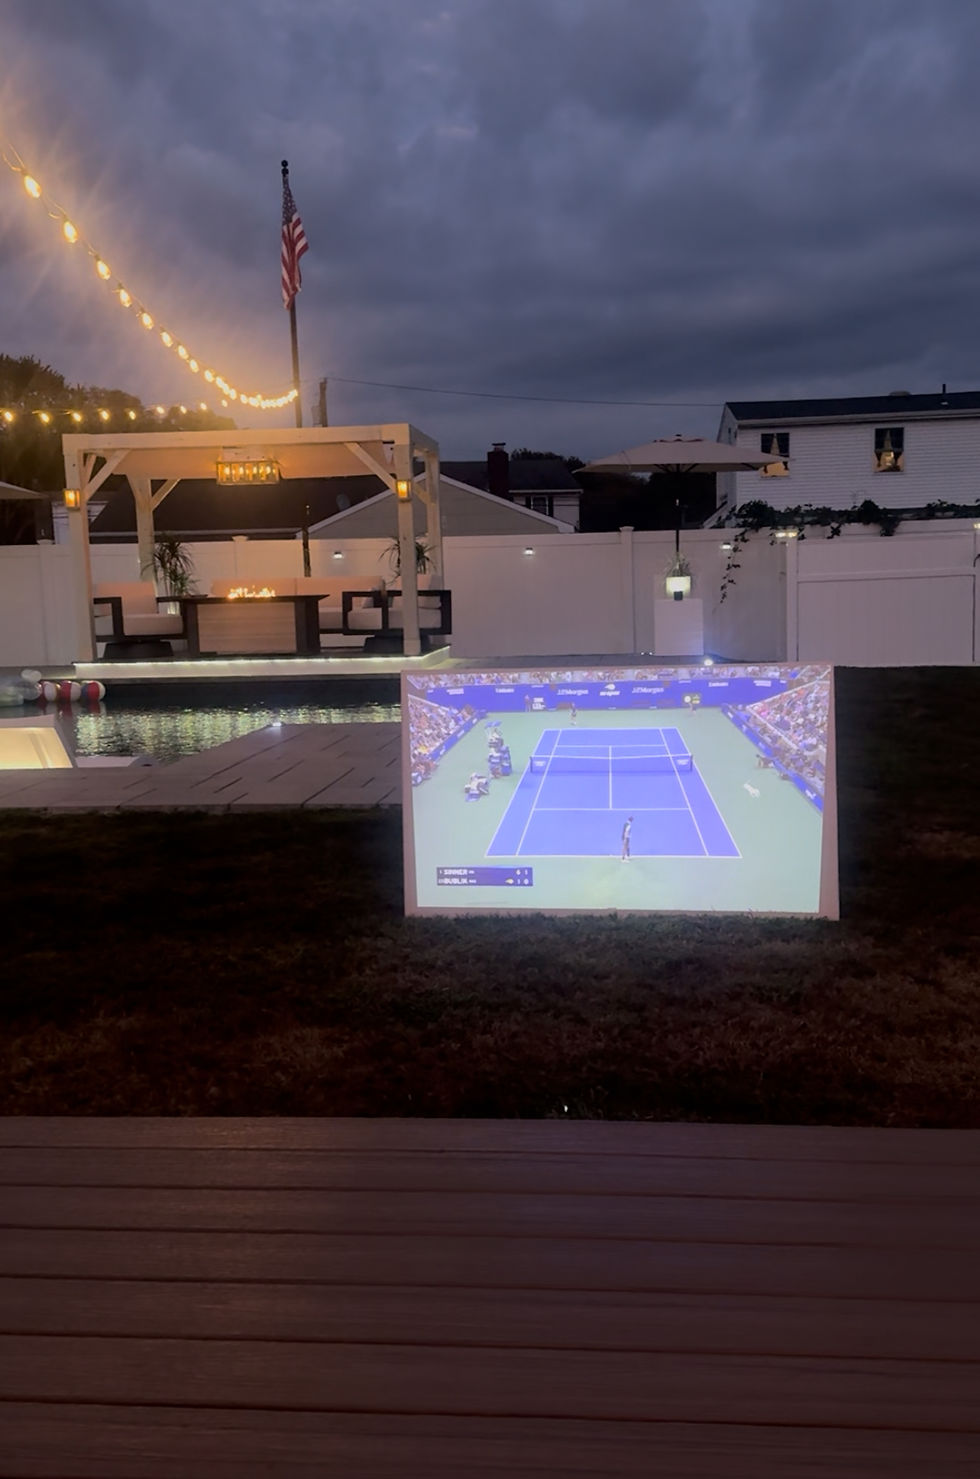
After installing the gravel, it’s time to decorate the space. I prefer a clean and simple design, so I added a few planters, some outdoor lighting, and a projector screen for our frequent outdoor gatherings. Whatever you choose to add, ensure it complements your new gravel patio without compromising its cleanliness.
You may also consider using a rock glue to help secure the gravel in place. While I didn’t use it for this project, rock glue can help maintain a tidy appearance, prevent weed growth, and keep the gravel stable. However, keep in mind that most rock glues are effective for about a year and may need regular reapplication.


Comments